
I have been in over 400 homes as a professional organizer, and the same scene plays out more often than I can count. Someone bought a modular cube shelf, assembled about two-thirds of it, ran into a connector that wouldn't snap straight, and shoved the whole box into a closet. The unit ends up leaning against a wall in pieces, or it gets assembled but placed in the wrong spot, overloaded on one side, and then wobbling every time someone brushes past it. The product wasn't the problem. The missing piece was a plan before the first panel came out of the box.
The SONGMICS 6-cube modular organizer is one of the most practical storage tools I recommend to clients because it is budget-friendly, ships flat, assembles without tools, and reconfigures when your needs change. But it earns that praise only when you build it right. Follow the five steps below and you'll have a stable, good-looking cube unit that fits the room you actually have, not the idealized room in the product photo.
Your room has dead corners. The SONGMICS cube system fills them affordably.
Rated 4.4 stars by over 10,700 buyers. Ships flat, assembles in about 30 minutes, no tools needed. Current pricing and availability on Amazon.
Amazon Check Today's Price on Amazon →Step 1: Measure the Wall and Map the Footprint Before You Open the Box
Every failed cube assembly I've seen started the same way: the box got opened first and the measuring tape came out second. Reverse that order. Each SONGMICS cube panel measures roughly 13.8 inches square, and the assembled unit adds connector thickness on every joint, so a 2x3 configuration (two cubes wide, three cubes tall) runs approximately 28 inches wide and 42 inches tall. A 3x2 (three wide, two tall) runs about 42 inches wide and 28 inches tall. Write down the exact wall width you're working with, the ceiling height if you plan to stack high, and note any baseboards or outlet covers that could shift the unit away from the wall.
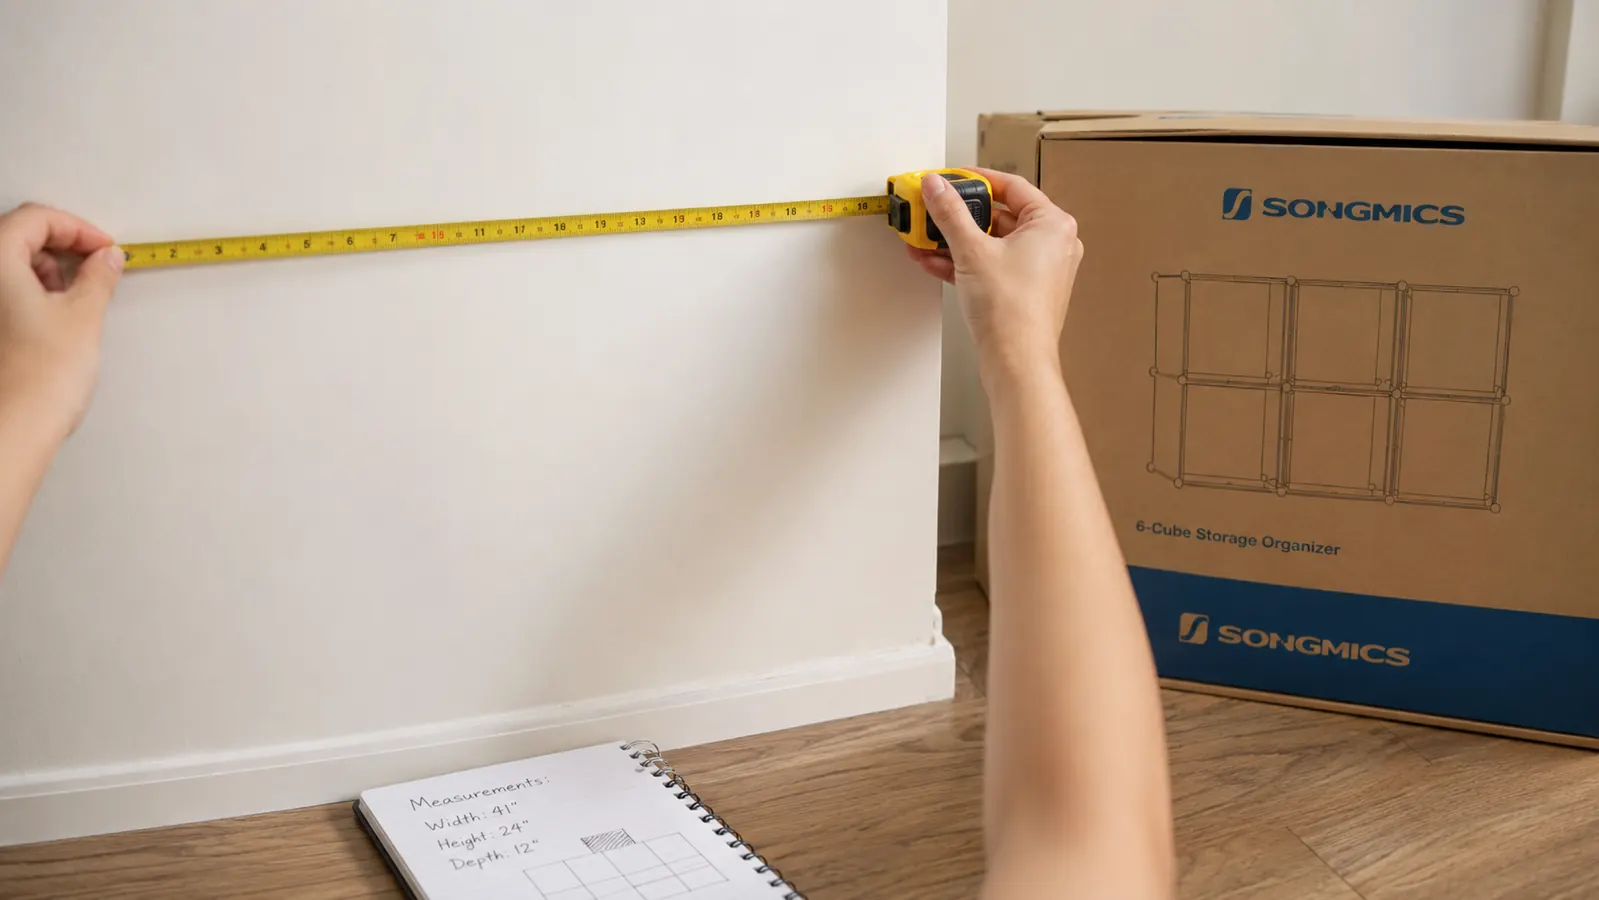
Room type shapes the measurement priorities. In a bedroom, your main constraint is usually floor space alongside the bed, so I focus on width first and let height follow. In a living room, visual weight matters as much as storage capacity, and you'll want to keep the top of the unit below or level with the windowsill to preserve the sense of openness. In a child's room, keep the total height under 48 inches if the unit won't be wall-anchored, so the lower cubes are genuinely accessible to a child without climbing. In an entryway, you're often working with an irregular wall beside a door, so measure the clear flat section only, not the entire wall.
While you're at the wall, think about floor type. Cube units on hardwood or tile have a habit of walking forward over time because the feet are smooth plastic. If your floor is hard, grab four small adhesive felt pads before you start. They cost almost nothing and they eliminate the slow-creep problem entirely. On carpet, the unit grips naturally and you don't need them.
Once you have your dimensions, sketch the configuration on paper. This is not overplanning. This is the ten minutes that saves you from disassembling a finished unit because it is two inches too wide to clear the door swing.
Step 2: Choose the Right Configuration for Your Room's Actual Needs
The SONGMICS 6-cube unit ships as six identical square panels plus connectors, which means the configuration is entirely your choice. The four I see work best in real rooms are: 2x3 vertical (taller than it is wide, good for narrow walls and hallways), 3x2 horizontal (wider than it is tall, good for living rooms and nurseries where you want low-profile storage), 1x6 single row (a long bench-height ledge, works beautifully in entryways or at the foot of a bed), and a staggered 2x2 plus 2-cube section at a right-angle corner using a second unit for households that need an L-shaped footprint.
For most bedrooms and home offices, I default to 2x3 vertical. It uses vertical wall space efficiently, the bottom cubes are reachable by kids, and the top cubes stay out of reach of pets and toddlers, which is where I recommend putting items that need to stay organized. For playrooms and living rooms, 3x2 horizontal doubles as a media console or TV stand for a smaller set, which is one of the most common creative repurposings I point clients toward.
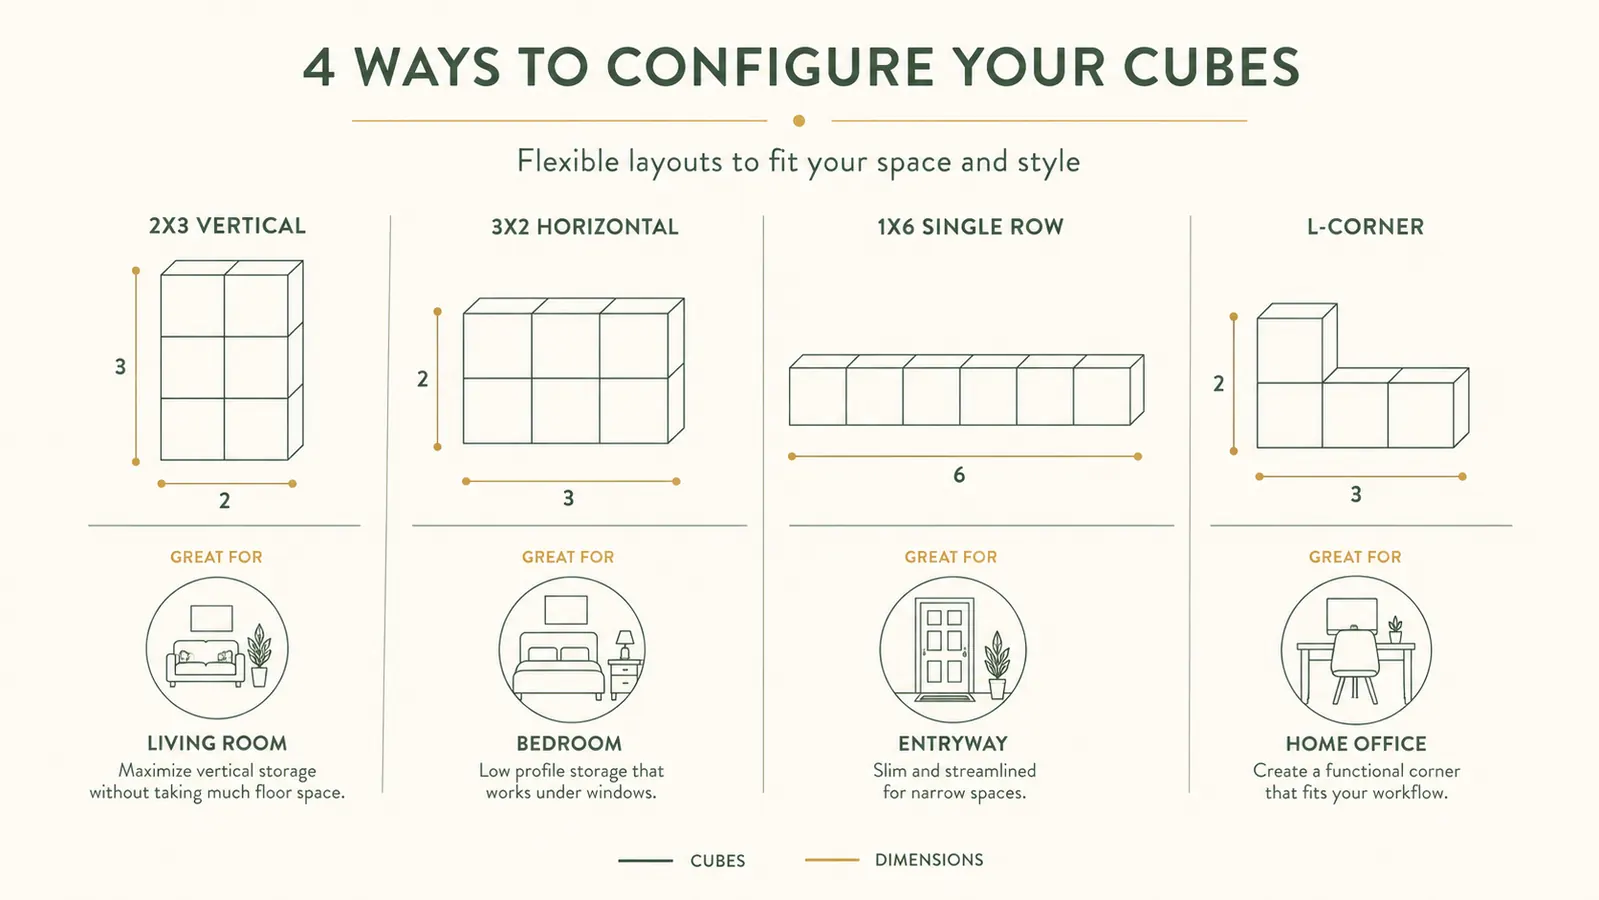
One configuration to avoid: a single 1x6 tower (one cube wide, six cubes tall). That is technically possible with two units but the physics are poor. A single-column stack gets unstable past about four cubes high without wall anchoring. If you want height, go 2x3 or wider so the base footprint is substantial enough to resist tipping.
Step 3: Lay Out All Panels and Connectors Before Snapping Anything Together
Clear a floor space at least as large as the finished unit, lay down a blanket or towel to protect the panel surfaces, and spread every piece out so you can see what you have. The SONGMICS kit uses small plastic snap connectors that fit into pre-drilled corner holes in each panel. Before you begin, count the connectors and match them to the corner count of your chosen configuration. A 2x3 unit has 12 exterior corners and several shared interior corners. Running out of connectors mid-build is the leading cause of that abandoned-in-the-closet outcome I described at the top.
When you start connecting panels, work from the bottom row up and from the back plane forward. That means: lay your bottom row of panels flat on the floor, snap the connectors into the bottom corners, stand the first back panels up, snap them into place, then add the front face. This sequence keeps the unit square as it rises. If you build from the top down or add panels randomly, you'll end up with a slight parallelogram twist that prevents the final panel from sitting flush. Once it's twisted, you have to disassemble two rows to correct it.
Work from the bottom row up and from the back plane forward. That sequence keeps the unit square as it rises. Build randomly and you get a twist that forces a partial disassembly to fix.
Snap each connector firmly until you hear the click. A half-engaged connector looks secure but fails under weight. Press it with your thumb until it seats fully, then give the panel a gentle tug to confirm. If it pulls apart with mild hand pressure, press it again. This takes an extra two seconds per connector and it is worth every second.
Step 4: Level the Unit and Decide Whether You Need a Wall Anchor
Set the assembled unit against the wall and check level across the top with a phone app or a small torpedo level. Most floors are not perfectly flat and a slight shimmy under one corner is common. A folded piece of cardboard under the low corner is an unglamorous but completely effective fix. Get the unit level before you load anything into it, because loading a tilted unit locks the tilt in place under weight.
Wall anchoring is the step most buyers skip and the step that matters most if you have young children in the house. The SONGMICS unit is lightweight when empty, which means an ambitious two-year-old can tip it. A single L-bracket screwed into a wall stud behind the top panel takes five minutes and eliminates tip-over risk entirely. I install them on every unit I set up in a home with children under six, without exception. Hardware stores sell anti-tip furniture straps at budget prices, which are even easier to use than L-brackets and leave smaller holes.
In a household with no young children, wall anchoring is still worth doing if the unit will hold more than about 20 pounds total, if it's in a high-traffic hallway where it might get bumped, or if you're in an earthquake-prone region. In a low-traffic adult bedroom with light contents, freestanding is fine.
Step 5: Load Smart From the Bottom and Leave One Cube for Overflow
Loading order matters for stability and for the long life of the connectors. Put the heaviest items in the bottom cubes. Books, file boxes, and fabric bins full of dense items all belong on the floor level or one cube up. Lighter items like folded scarves, craft supplies, and decorative objects go up top. This keeps the center of gravity low, which reduces wobble and reduces the shear load on the plastic connectors near the top of the unit.
The SONGMICS unit is rated to hold approximately 11 pounds per cube, which works out to about 66 pounds for the full six-cube system. That is honest middle-ground capacity. It handles fabric bins of folded clothing, small books, and light craft supplies without strain. It is not rated for textbooks stacked three deep, a collection of heavy cookware, or anything approaching what you'd load onto a metal utility shelf. Staying within the weight limit is the difference between a unit that looks good after two years and one that develops bowing panels after three months.
Leave one cube intentionally empty when you first load the unit. This is a technique I use with every client: the empty cube is not wasted space, it's a pressure valve. Homes accumulate things. When you have zero margin in your storage, new items pile up on top of the unit or on the floor in front of it, which defeats the purpose entirely. One empty cube absorbs the next month of incoming items without forcing a reorganization.
What Else Helps: Fabric Bins, Labels, and a Consistent Reload Habit
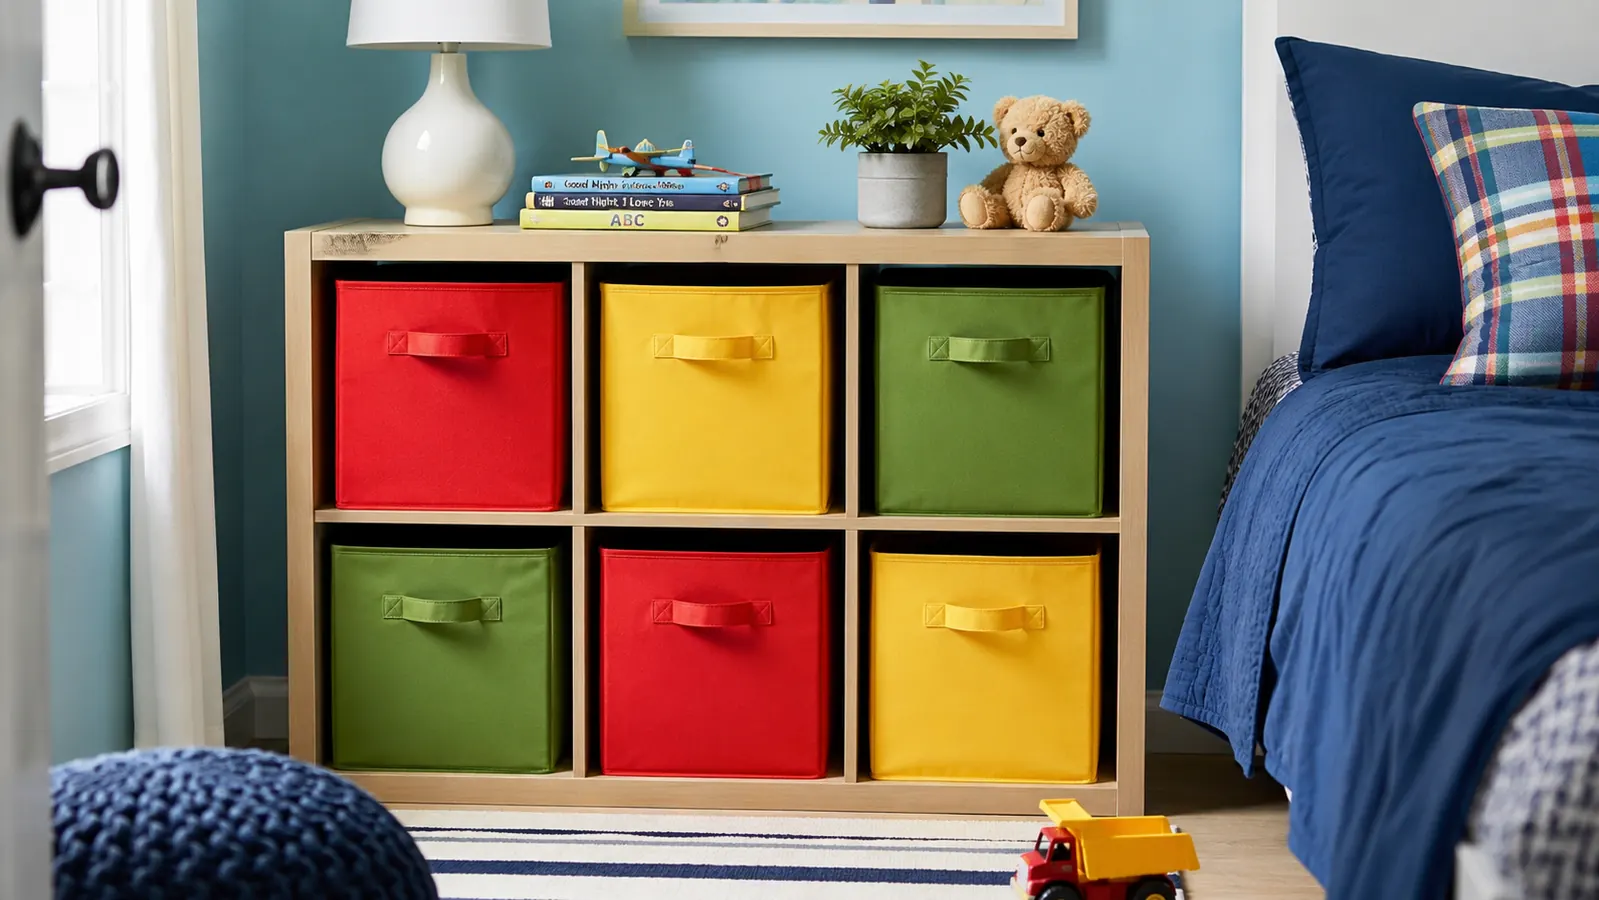
The cube unit itself provides the structure. Fabric bins inside each cube provide the category sorting that makes the system actually usable day to day. Bins keep small loose items from migrating between cubes, they let you pull an entire category out at once, and they make the unit look finished rather than like a shelf with random objects on it. I recommend bins in the 12-inch-square size, which fits the SONGMICS cubes with a small gap that makes removal easy. Collapsible fabric bins in linen or cotton fold flat when a cube gets repurposed, so you're not stuck with bins that don't fit a different unit.
A label on each bin changes the behavior of everyone in the household. When every cube is labeled, items get returned to their cube. When cubes are unlabeled, items drift to wherever there's a gap, and the system looks disorganized within a few weeks. Labels take five minutes once and they're the single highest-leverage finishing step I know.
The last piece is a monthly five-minute reload pass. Pull anything that doesn't belong in its cube, return it to the right one, toss anything in the overflow cube that can be donated or thrown away, and refill the overflow cube back to empty. That's the whole maintenance routine. A cube storage system that gets a five-minute reset once a month stays functional indefinitely. One that never gets reset becomes a different kind of clutter pile, just a vertical one. The SONGMICS unit has held up well for the clients I've set it up for, and the ones who do the monthly reset are still using the same unit two and three years later without a wobble.
Six cubes. One afternoon. A room that finally has a place for everything.
The SONGMICS 6-cube organizer has over 10,700 reviews on Amazon and is budget-friendly. No tools needed, assembles in about 30 minutes. See current price and stock.
Amazon Check Today's Price on Amazon →