
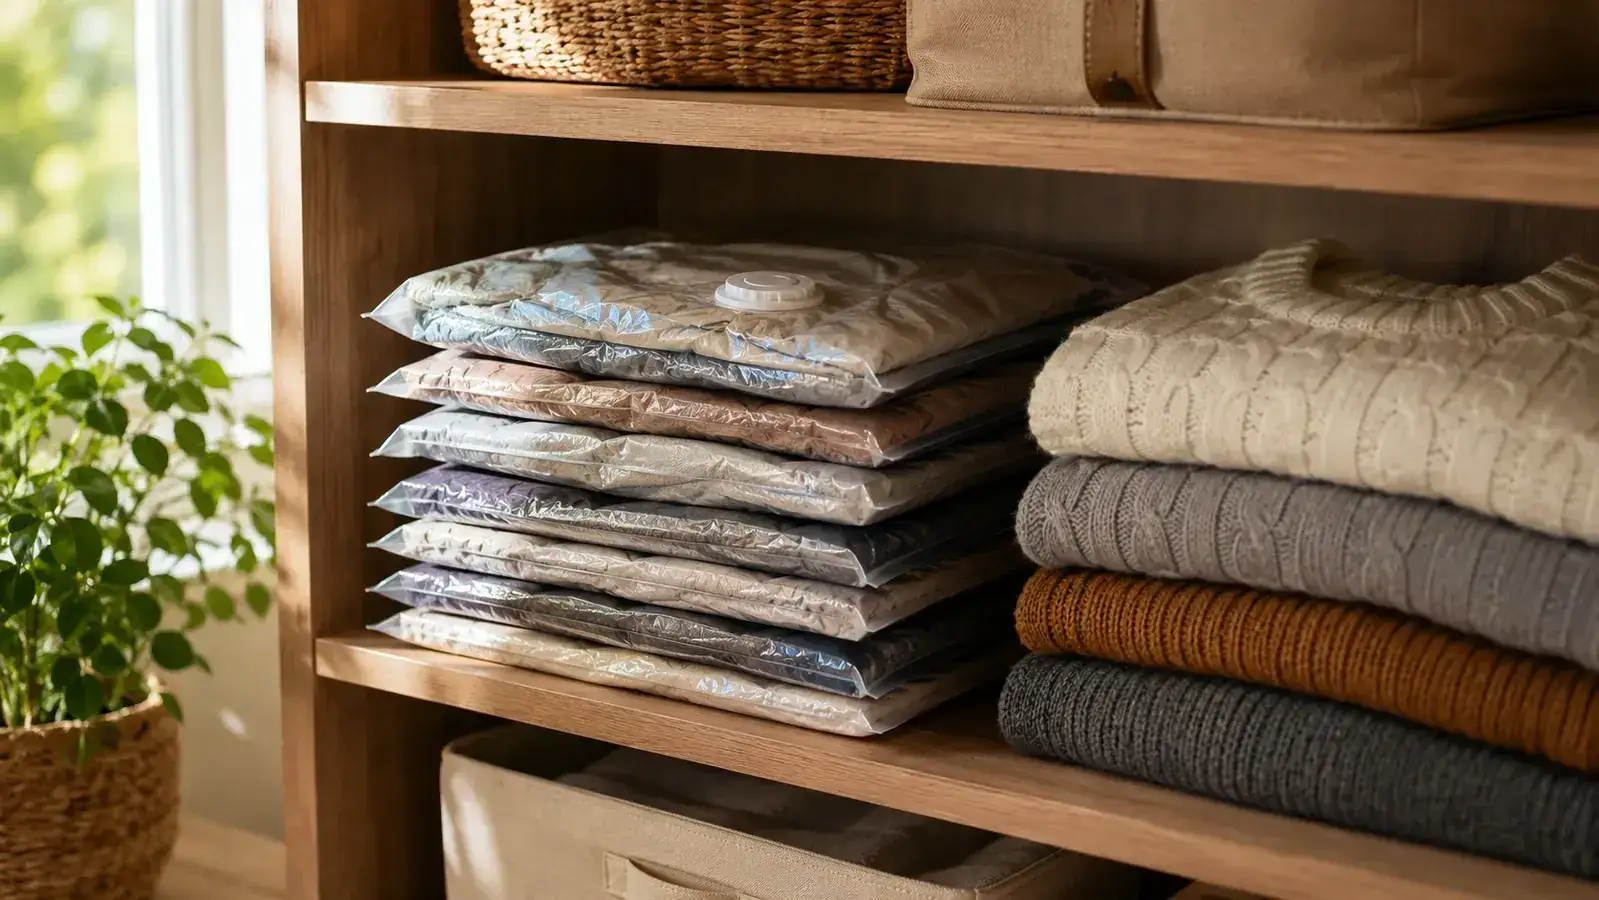
Every spring I help clients open their closets and find the same thing: a shelf full of bulging plastic bins with lids that won't close, garbage bags stuffed with winter coats that smell a little musty, and blankets shoved into corners that haven't been touched since October. The clothes survived the winter just fine, but trying to store them for spring and summer turned into a minor disaster. Nobody has time for that. The fix I keep coming back to is vacuum storage bags. A standard household vacuum collapses them down to about a quarter of their original thickness, which means a shelf that previously held two awkward bins can now hold six neatly labeled flat bags. If you haven't used vacuum compression bags before, or if you've tried them and had a seal fail on you, this guide walks you through the whole process step by step.
After fifteen years of professional home organizing, I've settled on the Amazon Basics Vacuum Storage Bags as my go-to recommendation for most households. They come in multipacks with a mix of sizes, the double-zip seals hold reliably across multiple seasonal cycles, and the price per bag is low enough that you can outfit an entire closet in one order. With over 92,000 ratings on Amazon and a 4.4-star average, they're not a niche product. They're what most organized households already have or will wish they'd found sooner.
Your off-season clothes are taking up space you could use right now.
The Amazon Basics Vacuum Storage Bags multipack covers every size you need, from sweaters to comforters, and they stack flat on any shelf. Check the current price and available sizes on Amazon.
Amazon Check Today's Price on Amazon →What You Need Before You Start
The actual storage step goes quickly. The prep work is what determines whether your clothes come out fresh in six months or smell like a basement. Before you pull out a single bag, gather three things: a working vacuum cleaner with a standard hose attachment, a permanent marker for labeling, and a clear afternoon. Rushing this in twenty minutes leads to sealed bags with damp clothes inside, which is the main reason people think vacuum bags don't work.
You also need to make a quick decision about which items will go into compression and which ones won't. Vacuum bags work beautifully for cotton and synthetic knitwear, fleece, down and synthetic-fill comforters, denim, and casual wool. They are not the right choice for structured garments like blazers, tailored coats, or anything with padding at the shoulders. Compression flattens the internal structure of those pieces and you won't get it back. Set those items aside for a garment bag or a dedicated section of your closet instead.
Step 1: Wash Every Item Before It Goes In
This is the step people skip, and it's the one that causes the most regret. Body oils, food residue, and light soil that you can't see in normal light will oxidize over months of storage and leave faint stains that are very difficult to remove once they've set. Moths are also drawn to soiled fabric, not clean fabric. Everything going into a bag should be freshly laundered or dry cleaned. I know that feels like extra work at the start of a season change, but you'll thank yourself in November when you pull out a sweater that still smells like laundry detergent.
Equally important: make sure items are fully dry before sealing. Vacuum bags create an airtight environment, which is exactly what you want for space-saving, but that same seal traps moisture. A slightly damp sweater in a sealed bag can develop mildew within weeks. After washing, let everything air dry completely, or run a low-heat dryer cycle and let the clothes cool and air out for at least an hour before folding them.
Step 2: Sort by Category and Pick the Right Bag Size
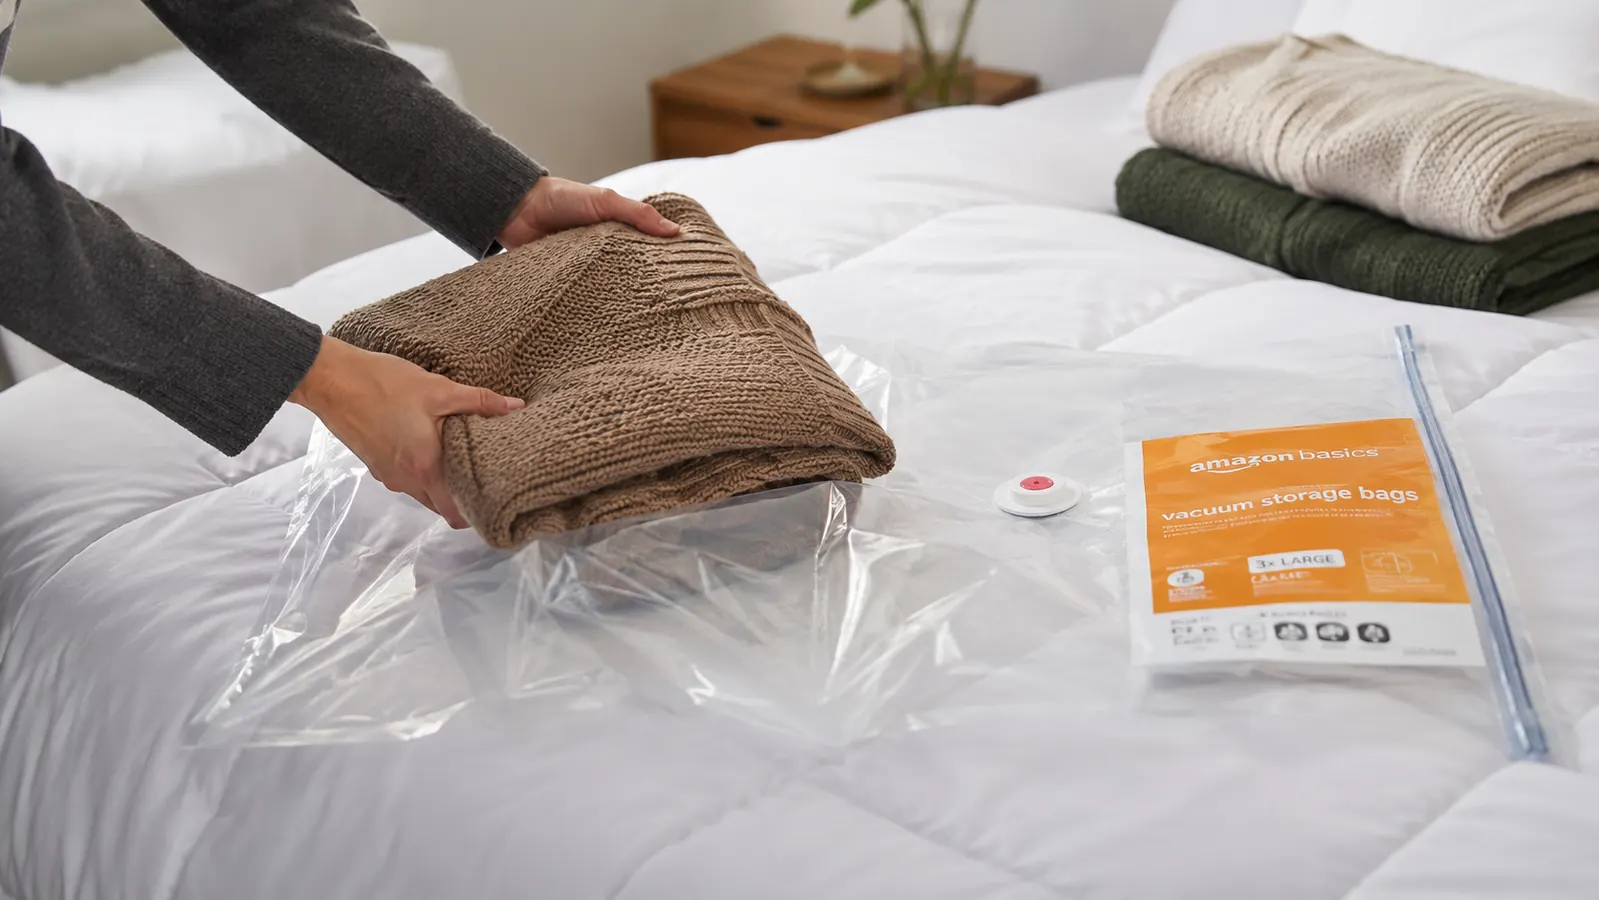
The Amazon Basics multipack typically includes a combination of medium, large, and jumbo bags, which is one of the reasons I recommend it over single-size packs. Group your clothing by type before you start filling: sweaters together, hoodies together, flannel shirts together. Sort your bedding separately since comforters need the jumbo size and shouldn't share space with clothing. Overstuffing a bag makes the seal work harder and reduces how flat the bag compresses. I'd rather use two medium bags than cram everything into one large.
A good rule of thumb: fill the bag to about three-quarters full before sealing. That leaves enough room for the double-zip closure to seal properly and gives the bag a little flex when you're compressing. If you pack it tight to the top and then try to zip it, you'll fight the bag the whole time and risk a partial seal.
Step 3: Fold, Load, and Seal the Double-Zip Closure
Fold items as flat as possible before loading them. You don't need origami folds, but loosely balled-up clothes create air pockets that resist compression. Lay sweaters flat on a table, fold in thirds lengthwise, then fold in half. Stack them in the bag in flat layers. For bulkier items like hoodies or fleece pullovers, fold the same way, just use fewer items per bag. Once you've loaded the bag, run the zip slider along the full length of the closure twice, starting from the same side both passes. You'll feel and hear it click into the track. Check both ends to confirm the seal is fully engaged before moving to the vacuum step.
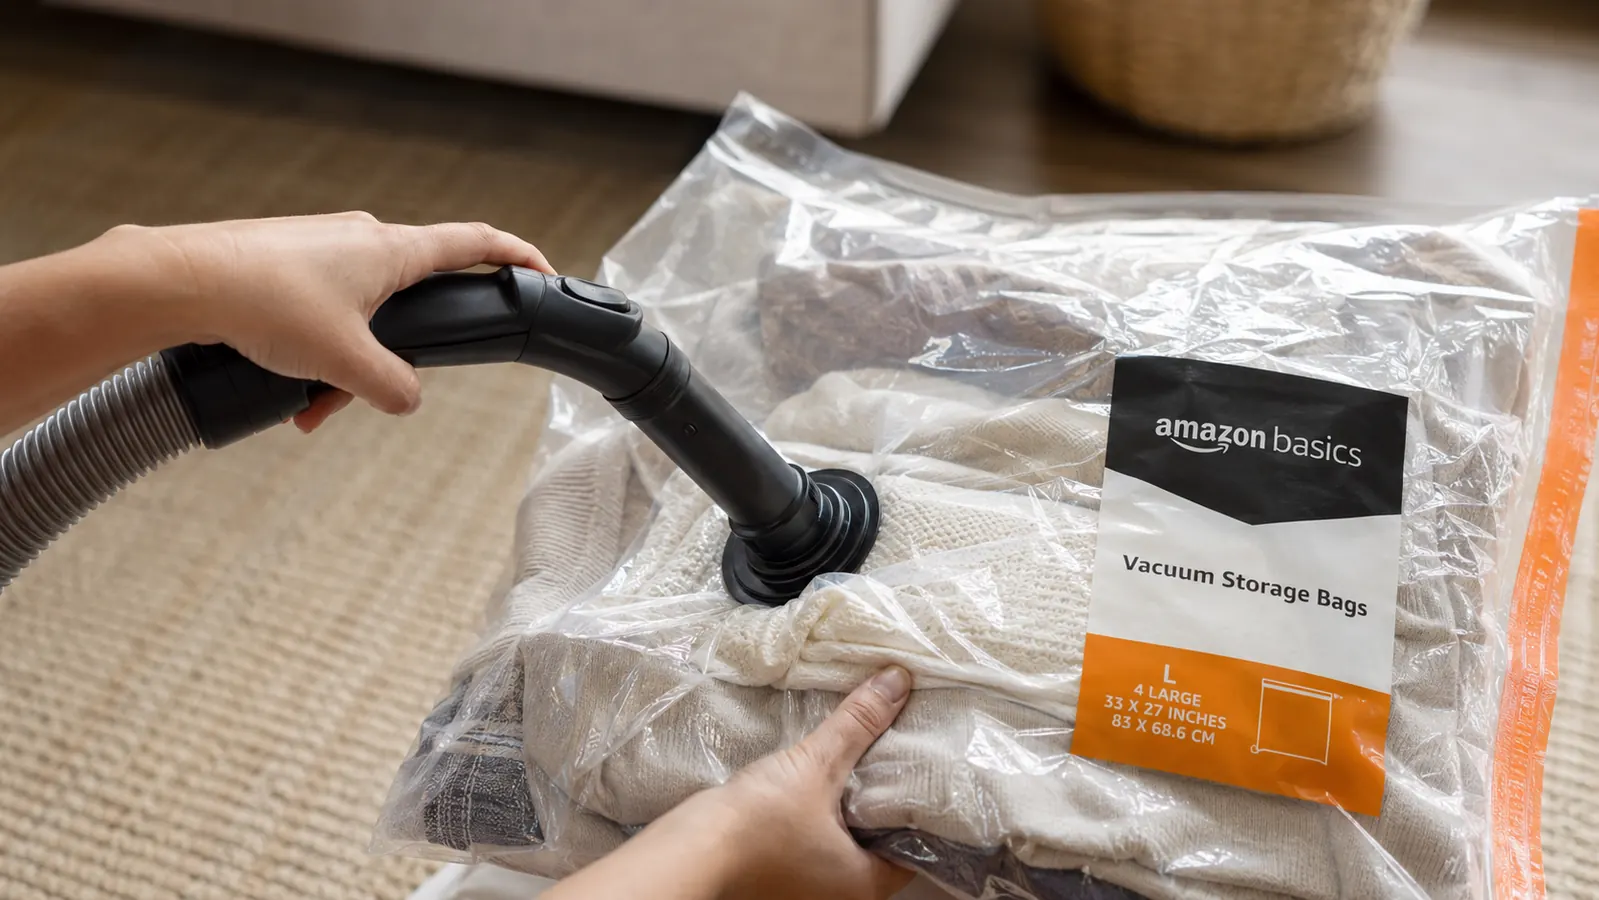
The Amazon Basics bags use a simple round valve that fits any standard vacuum hose. Press the nozzle firmly over the valve so you get a good seal between the hose and the bag, then run the vacuum for twenty to thirty seconds. You'll watch the bag collapse down around your clothes in real time. It's satisfying every single time. Once compression is complete, pull the hose away quickly and press down on the valve cap to close it. Most caps have a small lip that snaps over the valve opening. Press until you feel it seat.
The bag should feel firm and rigid when compression is done, like a sealed package, not like a squishy pillow. If it springs back softly within a few seconds, the valve cap isn't fully seated or the zip seal has a gap. Re-do it before stacking.
Step 4: Label Every Bag Before You Stack Them
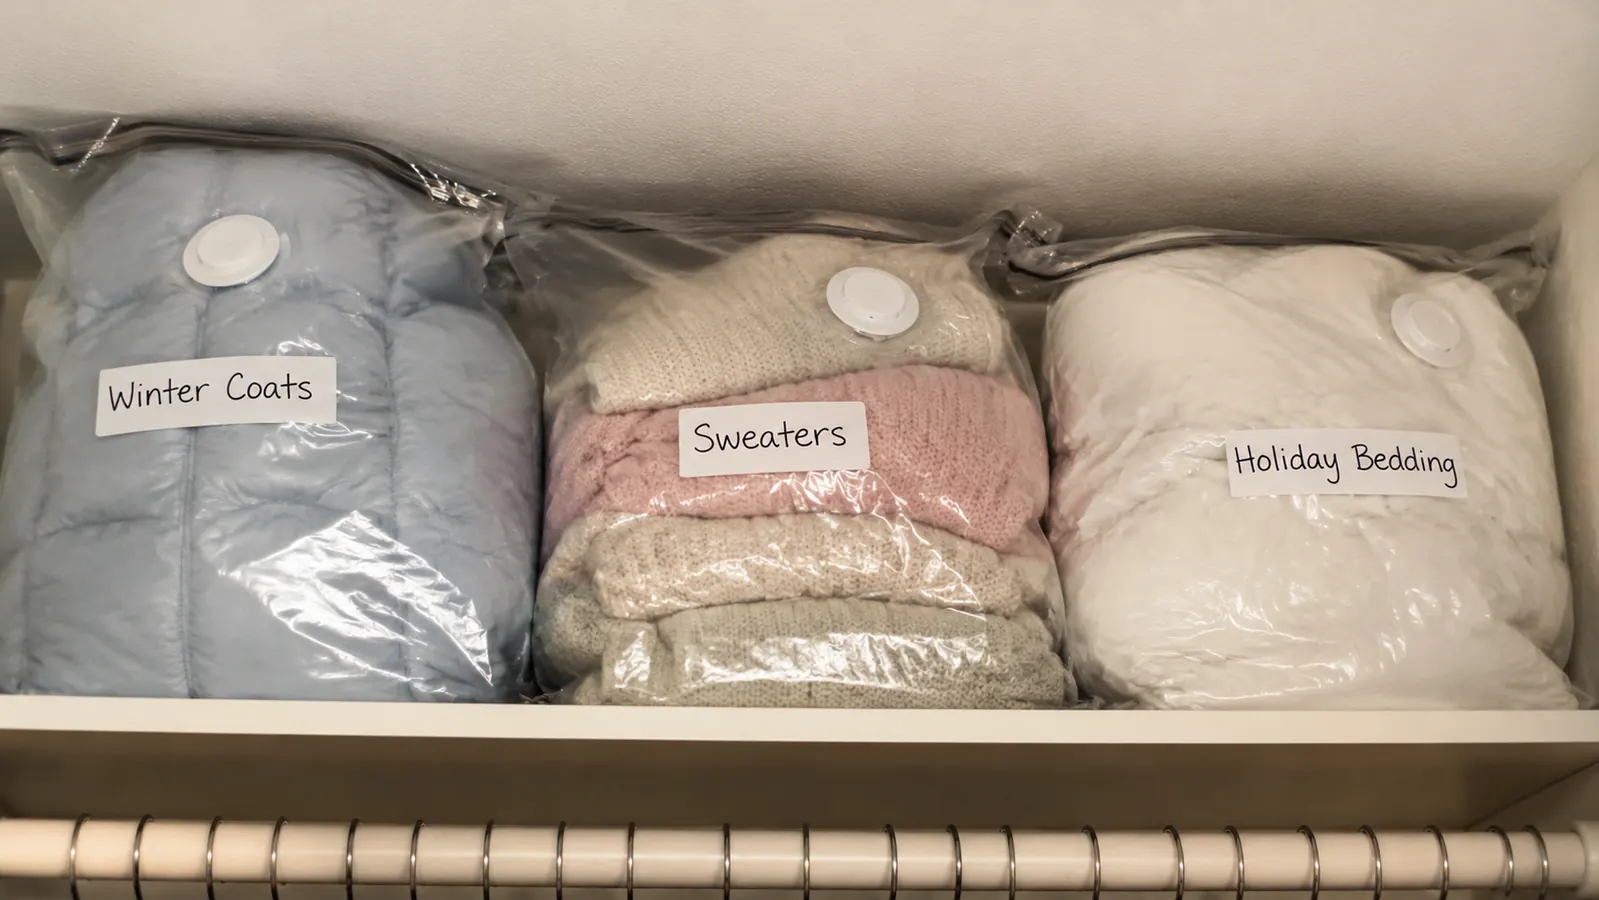
Compressed bags all look similar once they're flat. A jumbo bag of winter coats and a jumbo bag of heavy blankets are basically indistinguishable from the outside. Take thirty seconds and write on the bag with a permanent marker directly on the clear plastic: what's inside, whose clothes they are if it's a multi-person household, and the approximate month they should come back out. I write something like: 'Men's Sweaters, M/L, back in Sept.' It sounds overly simple, but when you're pulling bags off a high shelf in a rush, you'll appreciate knowing exactly which one to grab.
If writing directly on the bag bothers you, fold a small piece of masking tape over the corner and write on that. Either way, label before you stack. Once the bags are stacked two or three deep on a shelf, the bottom ones become a mystery and you end up pulling everything out to find what you need.
Step 5: Store the Bags in the Right Location
Flat compressed bags are flexible on where they can live. High closet shelves work well because you reclaim the lower hanging space for the current season. Under-bed storage is another strong option. The bags compress flat enough to slide under most platform beds with a few inches of clearance. What you want to avoid is any location with temperature extremes or humidity. Attics and garages expose the bags to heat in summer that can weaken the seals over time and cause the plastic to become brittle. Basements in humid climates put moisture pressure on the seals from the outside.
A climate-controlled interior closet or a spare bedroom shelf is the ideal environment. If under-bed is your only option, consider slipping the bags into a flat storage container with a lid to add a layer of dust and humidity protection. The bags themselves are airtight, but the outside of the bag can still collect dust and moisture on the surface in a damp space.
What Else Helps
Cedar blocks or sachets placed alongside your bags add an extra layer of moth deterrence. They don't go inside the bags since the bags are airtight and cedar works by releasing oils into the air around the fabric, but placing them on the shelf near your stored bags is good practice, especially if you've ever had a moth problem in your home. Replace cedar blocks annually since they lose potency after about twelve months.
For those who rotate seasonal clothes twice a year, I recommend keeping an inventory list on your phone or tucked inside your closet door. It takes about three minutes to photograph what went into each bag before you seal it. When you're shopping in late summer for fall and wonder if you already own a good black turtleneck, you can check instead of buying another one. It's a small habit that saves real money over time. If you're curious how the Amazon Basics bags compare against SpaceSaver and other brands across multiple seasonal cycles, the full comparison breakdown covers seal longevity, valve quality, and compression ratio side by side.
One thing that trips people up: vacuum bags are not permanent storage for items you want to keep pristine indefinitely. They're excellent for six-month seasonal rotations, and most people use the same bags for two or three years before replacing them. But if you're storing a vintage quilt or a wedding dress, those items deserve acid-free archival boxes and climate-controlled conditions rather than compression storage. Vacuum bags are a practical everyday tool, not a museum-quality preservation system.
Common Questions About Vacuum Bag Storage
The question I hear most often is whether vacuum bags ruin down jackets or comforters. The short answer is: temporary compression is fine. Down lofts back up quickly when released. A down jacket or comforter that has been sealed for six months will return to full loft within a few hours of being opened, especially if you put it in a dryer on low heat for ten minutes. What you want to avoid is compressing down for years at a time. Six months per seasonal cycle is well within the range where down recovers fully.
The second most common question is why a bag that was sealed tightly seems to slowly re-inflate over days or weeks. This almost always comes down to one of two causes: the zip seal has a tiny gap that wasn't caught during loading, or the valve cap isn't fully snapped down. Both are easy fixes. Re-open the bag, check the full length of the zip, and reseal it. Re-compress and press the valve cap down firmly until you feel it click. If you're still having issues, the long-term review of the Amazon Basics bags covers seal integrity across multiple cycles in detail, including which bag sizes tend to hold the best.
Ready to reclaim those shelves before the season fully changes?
The Amazon Basics Vacuum Storage Bags multipack gives you a range of sizes to cover sweaters, coats, and full comforters in one order. Over 92,000 buyers have used them through multiple seasonal cycles. Check availability and today's price on Amazon.
Amazon Check Today's Price on Amazon →